


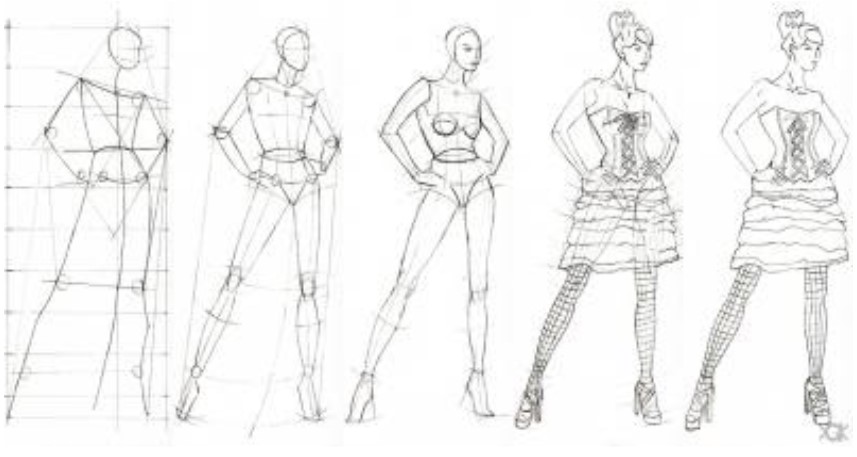
Figure drawing is a crucial foundation for anyone's fashion career. As many fashion design students know, there's a huge difference in artistic fashion proportions. Here are 9 steps. Drawing fashion designs with a pencil. For your reference.
See more:
Introduction to fashion design drawing
In art, body proportions are measured in heads. Adults are considered tall if their head circumference is between 7 and 7.5 heads; average height is 7 heads, and shorter than 6 heads.
However, in fashion design, the human body proportions are elongated to better showcase fashion designs for people of above-average height. Although the proportions of the body in fashion are the same, each person has their own style based on that existing formula. Fashion design is incredibly rich and diverse. If you want to realize your fashion ideas, please refer to the sketching steps below. This will ensure you create the most accurate and attractive designs.
Prepare the tools for sketching the human figure.

The things you need to prepare are:
- Pencils for drawing
- Eraser
- Ruler
- Sketchpad software.
Steps in drawing fashion designs with a pencil.
Below are the steps to drawing fashion designs with a pencil. The steps are simple but quite effective. You just need to follow the correct sequence and have a certain dexterity to succeed.
Step 1: Draw the centroid line.
First, draw a straight line. This is the line of balance and also the line that determines the center of gravity of the body. This center of gravity line always extends from the base of the neck straight down to the ground.
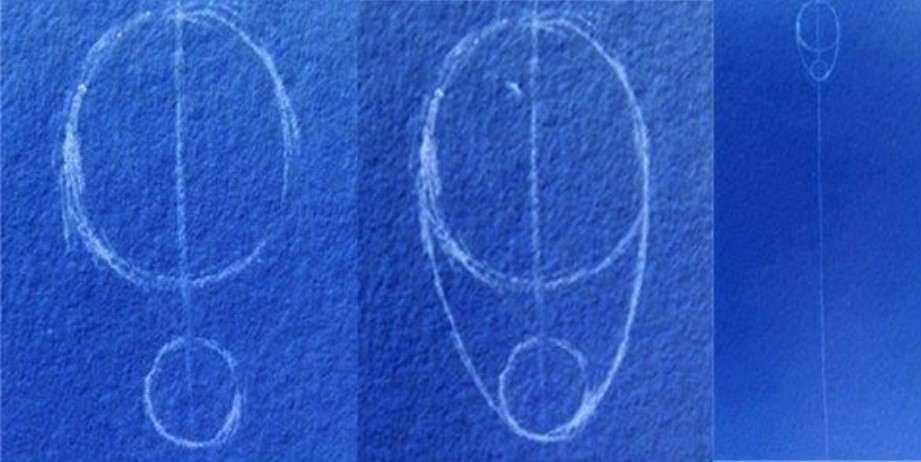
Step 2: Draw the head
Next, draw the head so that the center line is the line of symmetry. To draw the head, draw two circles, one large and one small, side by side. Connect the two faces with diagonal circles to create the fashionable face.
Step 3: Numbering
You measure your head with a pencil or ruler. The pencil fashion design method allows for this approach. You draw nine small, equally spaced horizontal lines, then number them from chin to foot as 1 through 10.
Step 4: Draw the upper half of the body.
For the upper body, continue drawing outlines from 1 ½, 2 ¼, 3 ½, and 4 ¼ of the head. These outlines are where the shoulders, chest, waist, hip height, and bottom are positioned, respectively. The elbows will also be aligned with the waist at the 3-point mark.
Step 5: Continue drawing the features
Next, you draw the features using straight lines. In fashion design, a woman's shoulders should be 1 1/2 head width. The waist is the width of the head. Meanwhile, the hips should be about 1 1/4 head width. With these proportions, when you sketch it on paper, the woman's figure will have an hourglass shape.
Step 6: Mark the knees and ankles.
For the lower half of the body, mark 6 ½ for the head and 9 for the knees and ankles.
Step 7: Draw the legs
You draw the leg by creating a curve and gradually narrowing it from the high hip to the knee and thigh. For the calf, create a smaller cylinder by curving lines from the knee and then sweeping them at the ankle. The thigh and calf should be the same length for a balanced look.
Step 8: Draw the legs
You draw the leg starting at the ankle to discover a diagonal line that is ¾ the length of the head.
Step 9: Draw the hands of the body.
You draw the hand in a similar way to the above. Start from the wrist at the bottom of the pants. The fingers should end slightly above the top.
Fashion sketches have movement.
Once you've sketched out the body with certain proportions, this is the step where you breathe life into your sketch. There are three most important elements that all fashion models require: balanced proportions, high shoulders, and high hips.
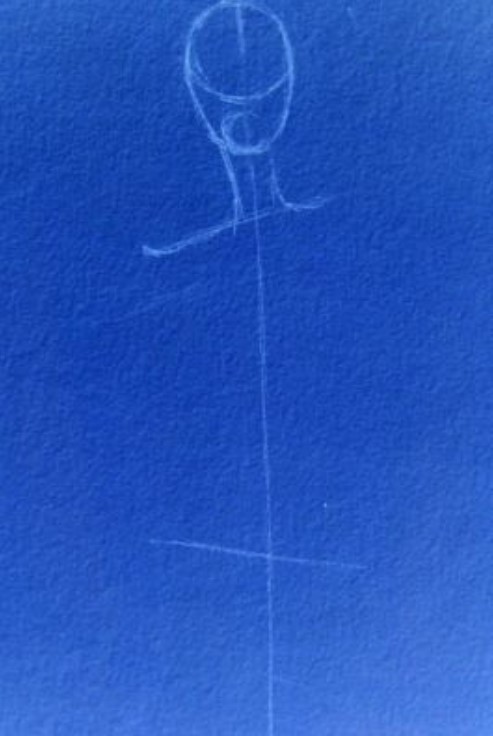
You will also begin sketching a completely new character. But this time, after you draw the balance line and place the head mark, you position one shoulder higher than the other. The hips are angled higher, but the opposite of the shoulder is higher.
Above is how to draw fashion designs using a pencil. Besides imagination and accurate proportions, being trained by a good teacher will also help you learn quickly. A good environment helps you develop your full potential. For more detailed information or any questions, please contact us directly for advice. We are always ready to provide you with the most basic and accurate knowledge.
Author: Viet My College - Date written: August 22, 2020
Category: College 9+, Fashion design, News - Events

0 thoughts on “9 bước vẽ dáng người trong phương pháp vẽ thiết kế thời trang bằng bút chì”